1. GETTING STARTED
We would like to thank you for downloading Ago WordPress Theme. Ago is a free WordPress theme specially designed for companies, agencies, and business..
Before you begin, please be sure to go over this material. We layout a lot of useful information and provide you all the information you need to utilize the Ago Theme.
If you can’t find your solution in our documentation, please contact us via the support page. We are delighted to assist you, and you will receive a response from us much sooner than you anticipated. Thank you for your interest in the Ago WordPress Theme; we hope you enjoy it!
WordPress Background Knowledge
You must have a functional version of WordPress installed in order to install this theme. Follow the instructions if you need assistance installing WordPress in WordPress Support.
Useful links for WordPress information.
- WordPress Codex – General info about WordPress and how to install on your server.
- First Steps With WordPress – General info about multiple topics about WordPress.
- FAQ New To WordPress – The most popular FAQ’s regarding WordPress.
TABLE OF CONTENT
* * * * * * * * * * * * * * * * * * * * * * * * * * * * * * * * *
2. INSTALLATION
2.1. System Requirements
Please ensure that your hosting provider and website match the minimal criteria listed below before installing the theme:
To run Ago, we recommend your host and website support:
- Minimum requirements to run WordPress.
- Use the most recent version of WordPress.
- Always use strong passwords for FTP and databases.
Important Note about PHP Configuration:
You may encounter issues linked to low PHP configuration restrictions in a variety of situations, such as a white screen, demo material that fails to import, empty page content, and other similar concerns. The fix is to raise the PHP limitations. You may change this on your own by modifying the php.ini file in the root directory, or you can contact your web host and request that they increase those limitations to a bare minimum, as shown below.
max_execution_time 360memory_limit 256Mpost_max_size 64Mupload_max_filesize 64M
2.2. Theme Installation
Before installing Ago theme, you need to have a WordPress site that meets all the theme requirements and have the latest Ago theme package available in your computer.
- Navigate to the Admin Panel of your site (i.e. yoursite.com/wp-admin/).
- Login to your WordPress Dashboard and go to
Appearance > Themeand clickAdd Newto add new theme. - Click the
Upload Themebutton thenChoose Fileand selectBzoAgo-theme-v1.0.0file and clickInstall Now. - It will take a few minutes to install the theme.
- After seeing the message Theme installed successfully, click on
Activate, you can use Ago for your site.
FTP Upload
- Access your FTP client, such as FileZilla to start upload Ago theme.
- Navigate to the folder of your website (i.e. yoursite.com/wp-content/themes) then upload and extract theme file
BzoAgo-theme-v1.0.0to this directory. After that, you will have a theme folder named as Ago in your site’s directory. - Login to the Admin Panel of your site (i.e. yoursite.com/wp-admin/). Go to
Appearance > Themesto find Ago theme. - After seeing Ago theme’s thumbnail, choose and click on
Activateto install it in your site.
2.3. Plugin Installation
To ensure that the theme works properly and has all of its features, all of the essential plugins should be installed and enabled when the theme is installed.
- After activating the theme, select
Install Pluginsoption in Ago theme details.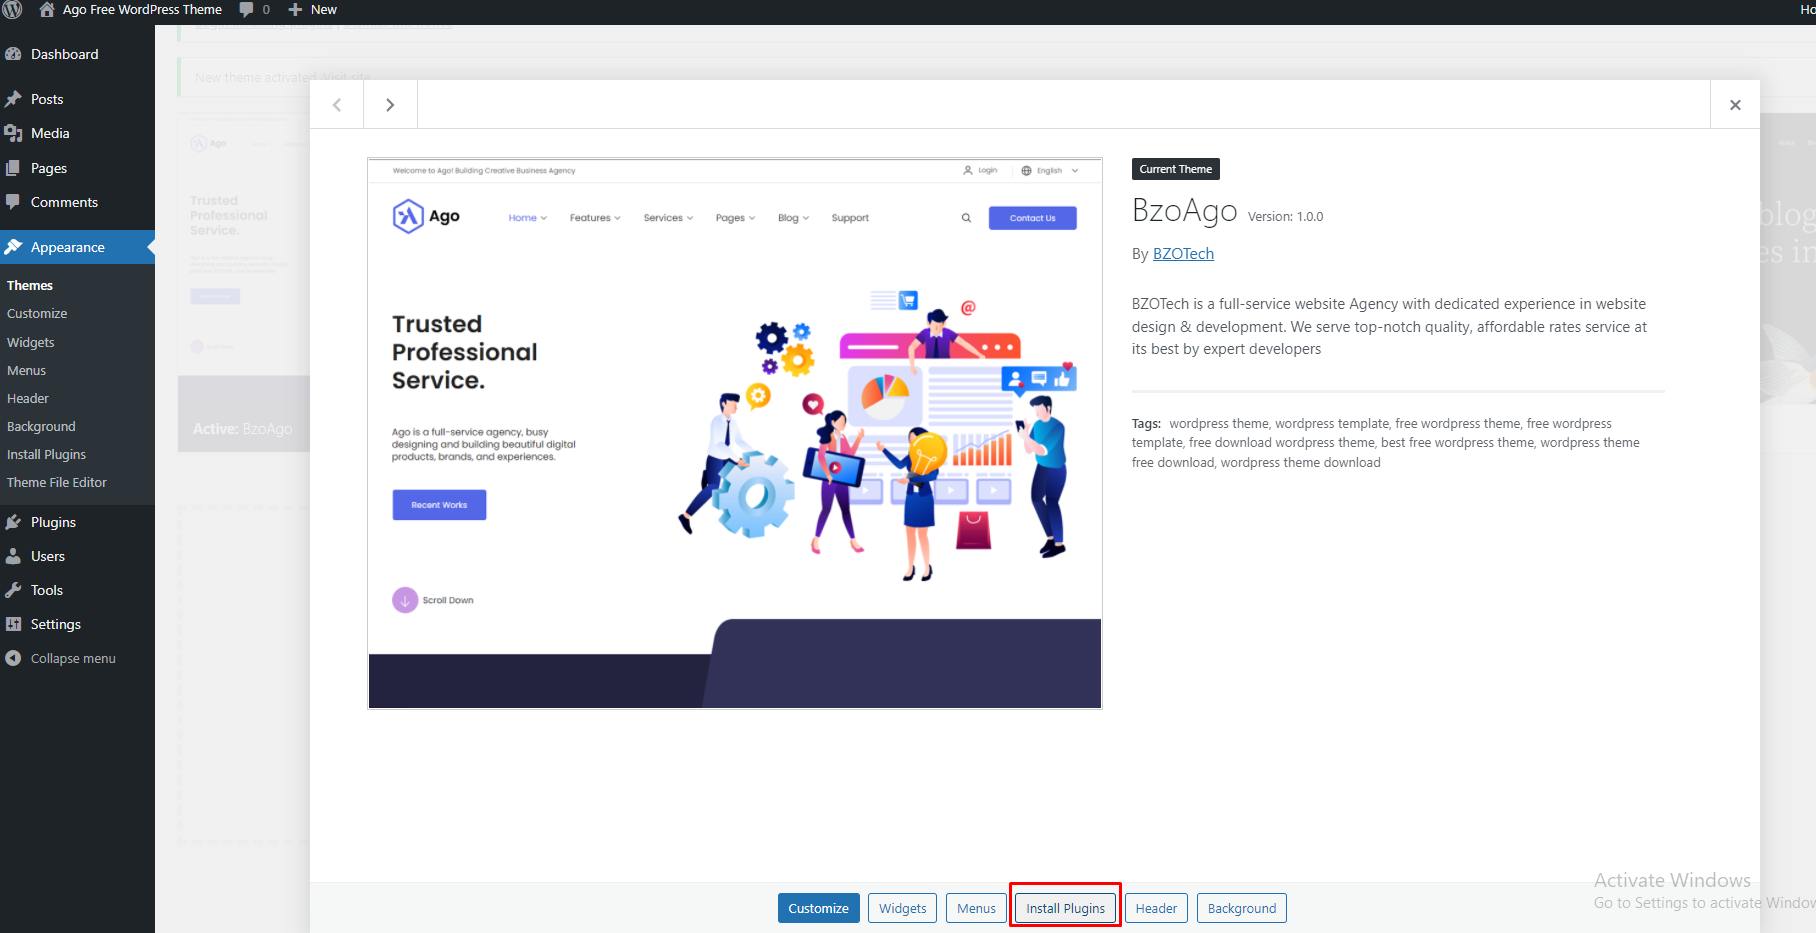
- Choose all of required plugins then select
Installand clickApply.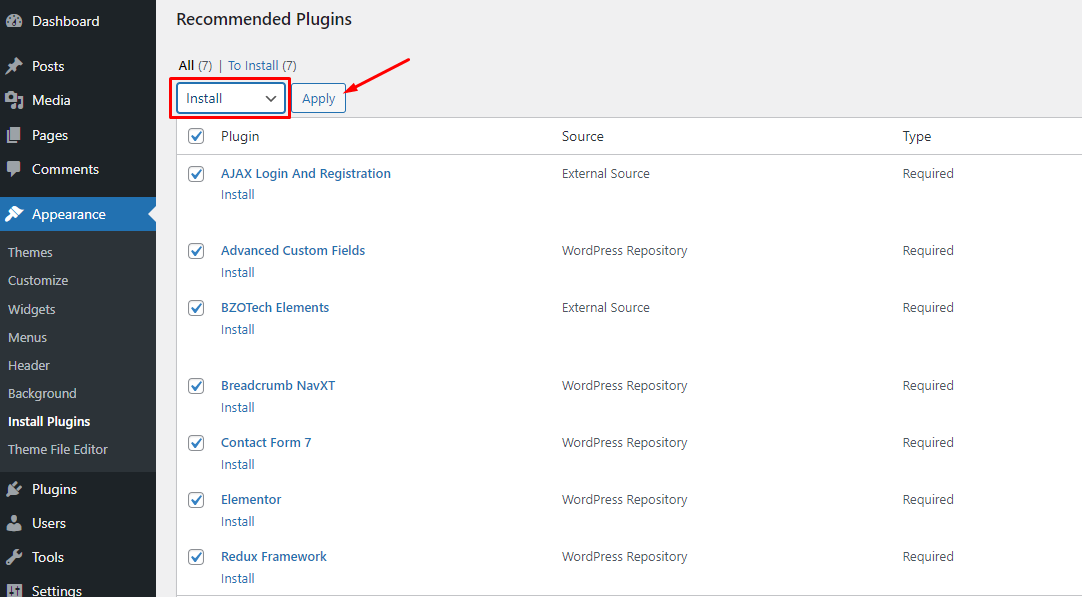
- After successful installation, select option
Return to Required Plugins Installer, select all of them then selectActivateand clickApply.

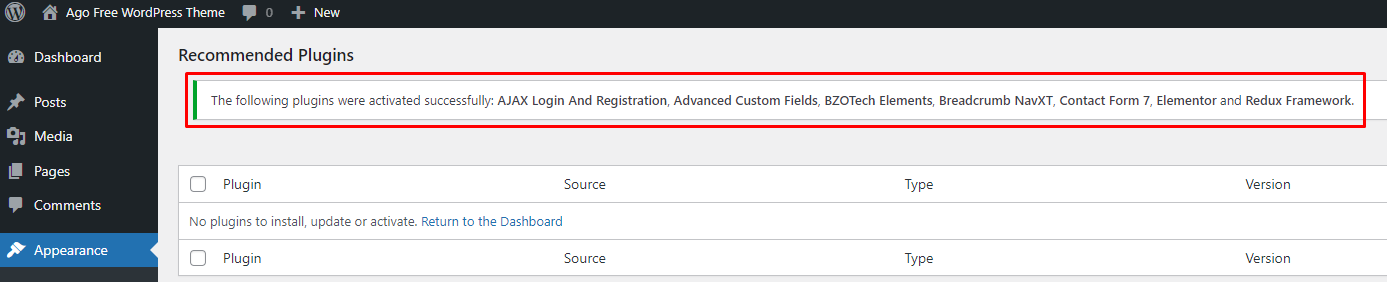
- When activating the plugins successfully, you will see a message at the top of the page.
If you find that any plugin was not successfully installed when installation, please select each of them and install them one by one again. If your server does not allow automated installation, you must install them manually using plugins in the data/plugins folder.
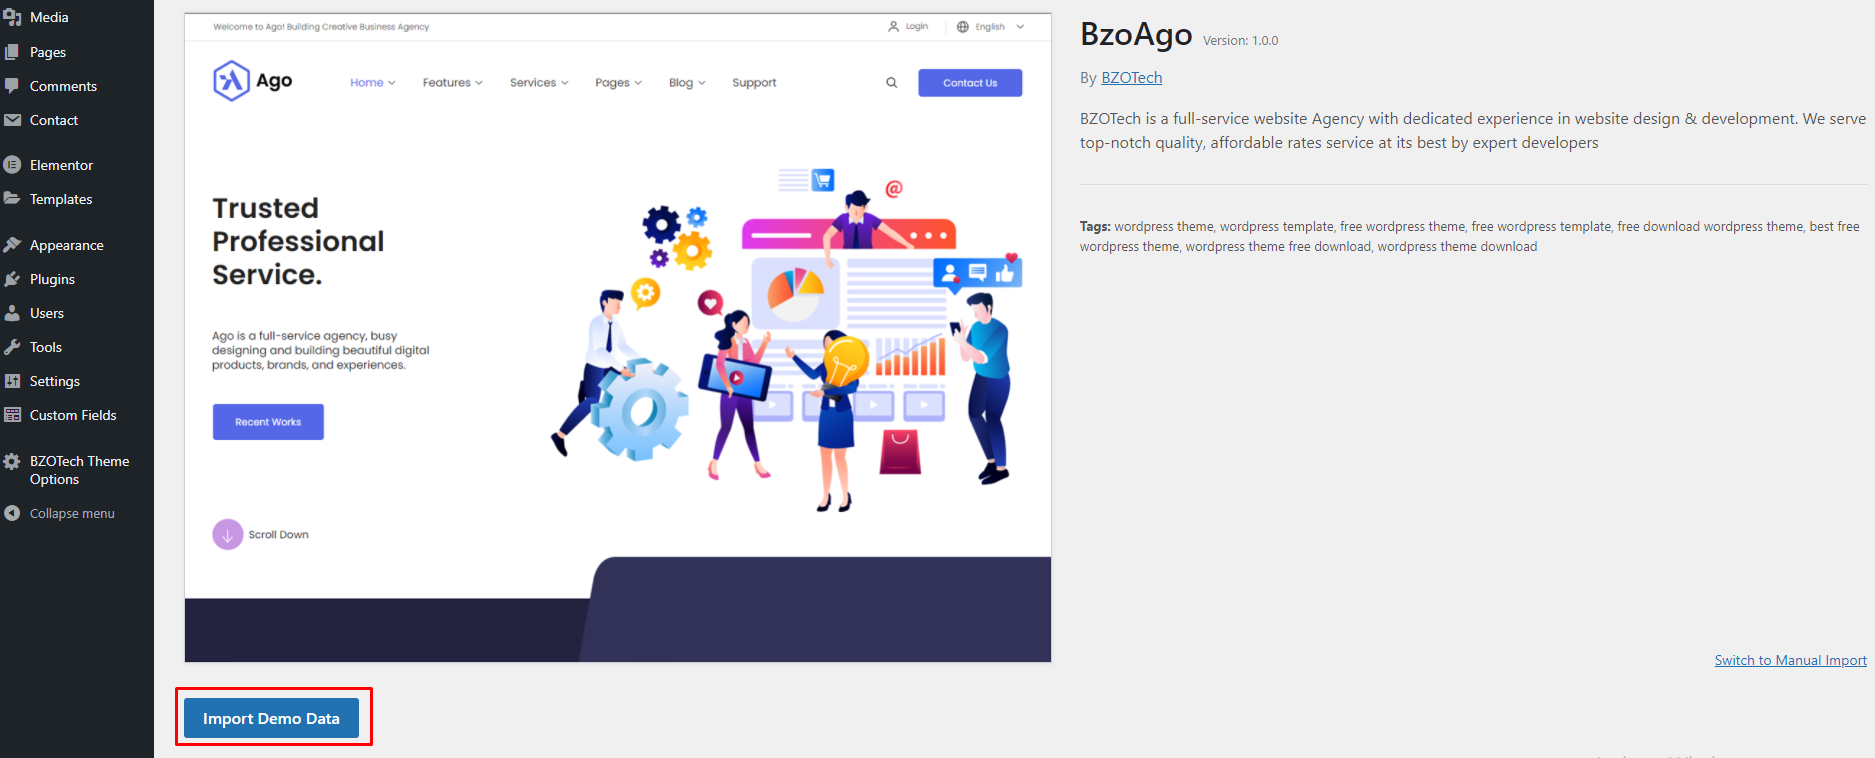
2.4. One Click Demo Import
Importing demo data is the simplest method to get your theme up and running. Instead of creating content from scratch, you will be able to quickly edit everything. Just by some clicks, you will get a full website look exactly as same as our live demo.
- In the Dashboard, go to
Appearance > Customize > Import demo content > Click to import demo content
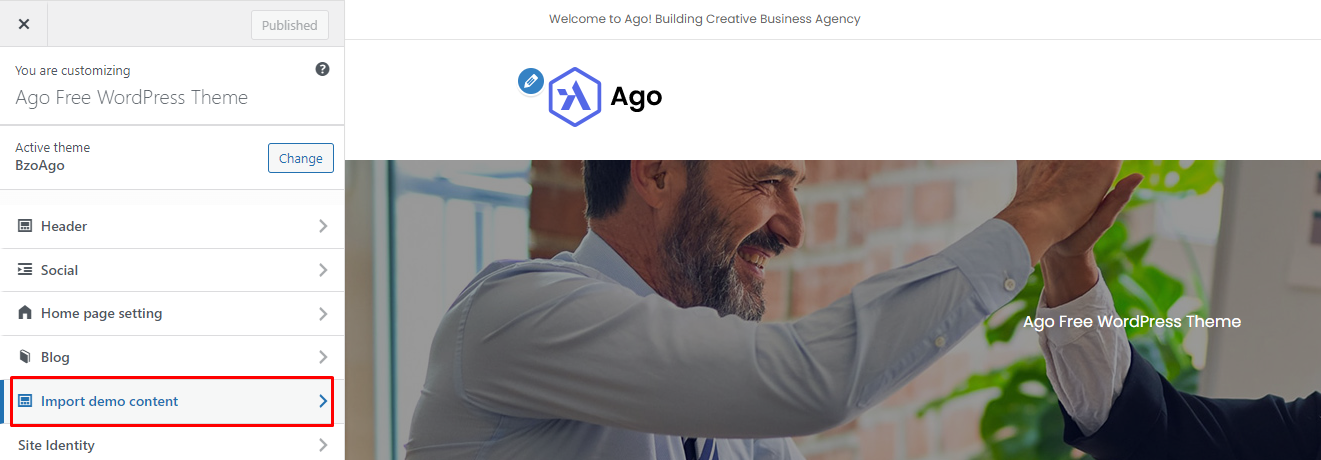
- Choose option
Import Demo Data > Continue & Import. In this step, you can select to install some recommended plugins from WordPress. You can skip to install these plugins for later.
- It can take a few minutes to import everything. Please wait until it is completed and do not refresh the page or hit the back button. Once it completes, you will see a Import Complete! message.
3. CONFIGURATION
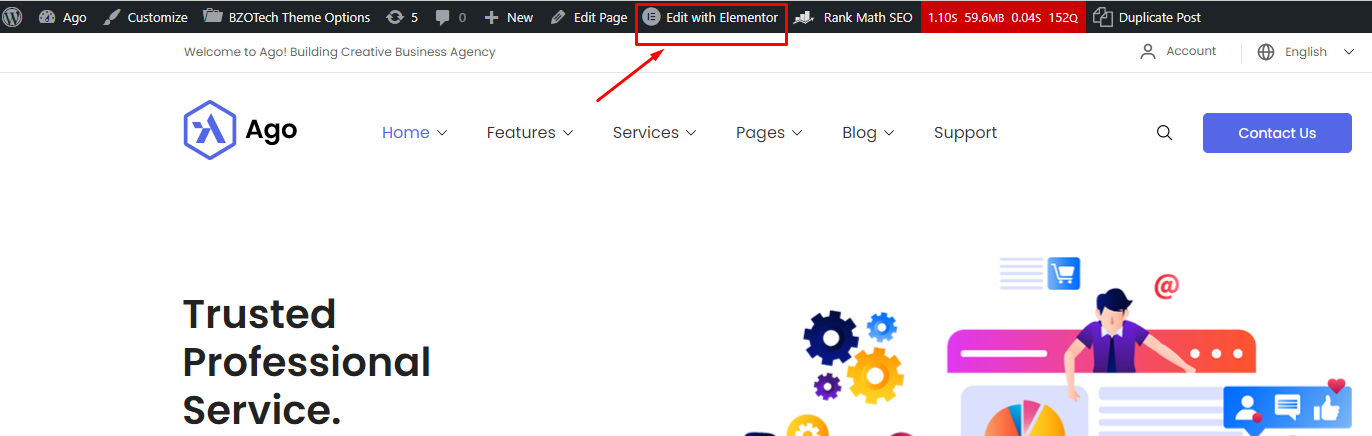
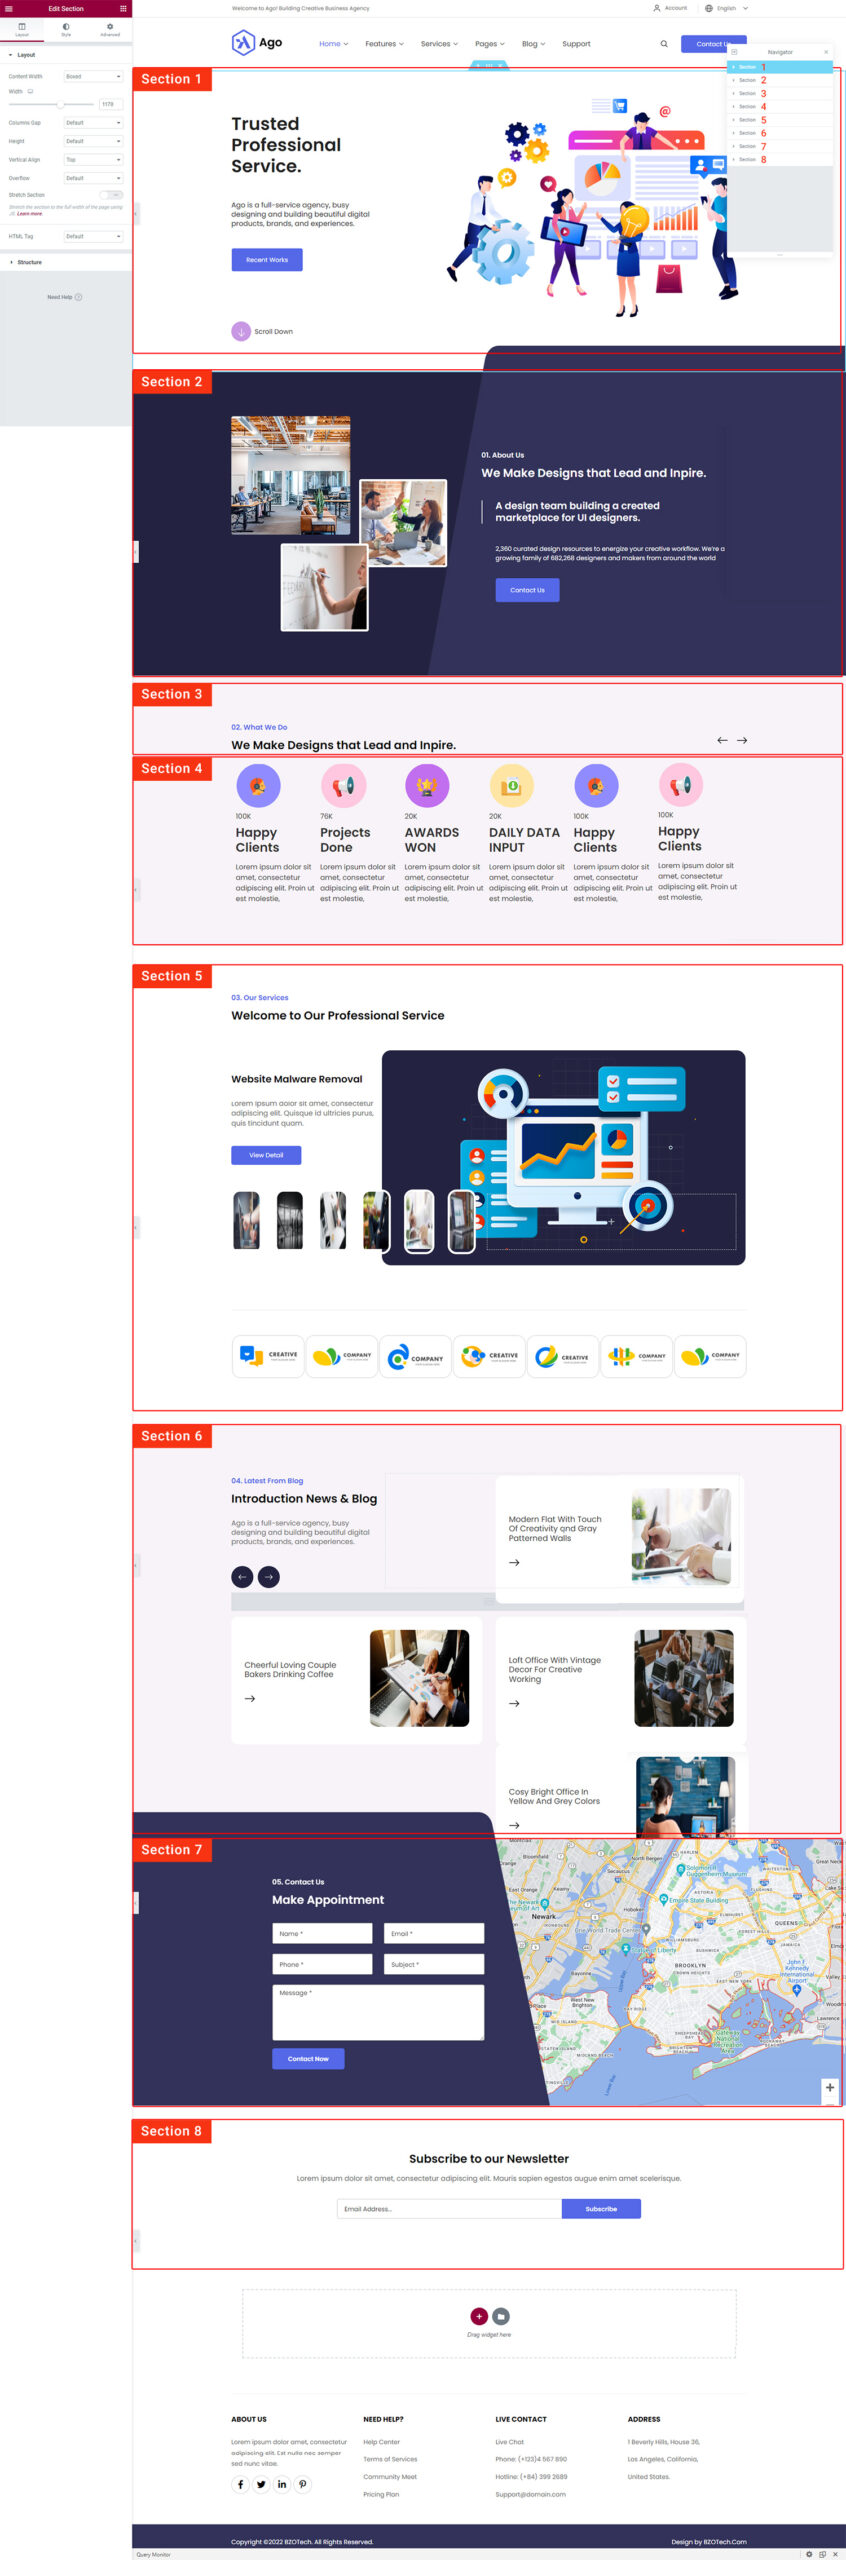
3.1. Homepage Configuration
To edit homepage, on the admin bar of the page, click on Edit with Elementor then you can edit the page elements with Elementor. Elementor provides Sections with Columns, then when you click on any element, the editor will show you where are you.
3.2. Theme Options
To access Ago Theme Options, please go to Appearance > Customize. There you can see logical tabs including:
| Header | Config the theme header |
| Social | Config social links |
| Image categories | Options for banner image on blog categories |
| Home page setting | Options for background image for boxed layout |
| Site Identity | Options for site identity |
| Color | Options for the color |
| Header Image | Options for header image |
| Background Image | Options for background image |
| Menu | Options for menu |
| Widgets | Options for widgets |
| Homepage Setting | Options for the homepage |
| Additional CSS | Options to add additional CSS |
| Import/Export | Options to import or export theme option settings. |
Theme options in detailed:
 |
Header
This option to configure text, link for contact button on the header as well as the text for topbar. Site logo also can be configured here.
|
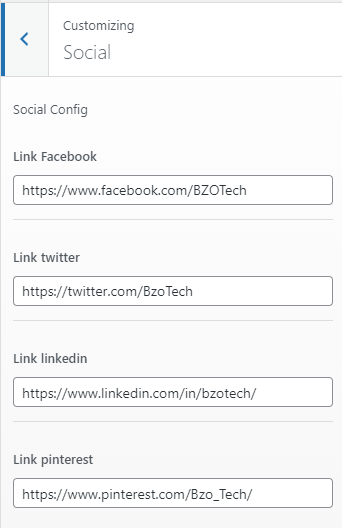 |
Social
This section to manage the social link on the site. Simply put the social links here.
|
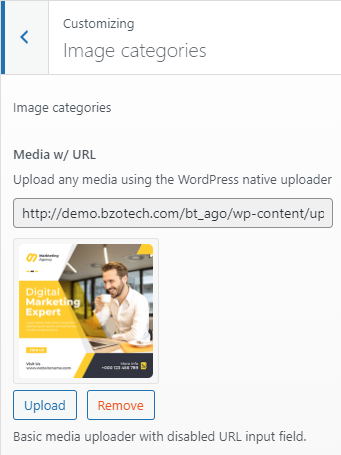 |
Image categories
Upload image banner to showing on the blog categories page. Upload any media using the WordPress native uploader. |
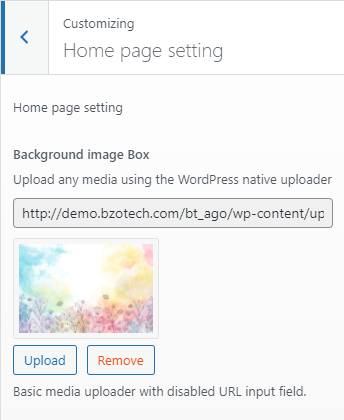 |
Home page setting
This option allows you to upload background image for boxed layout. Upload any media using the WordPress native uploader. |
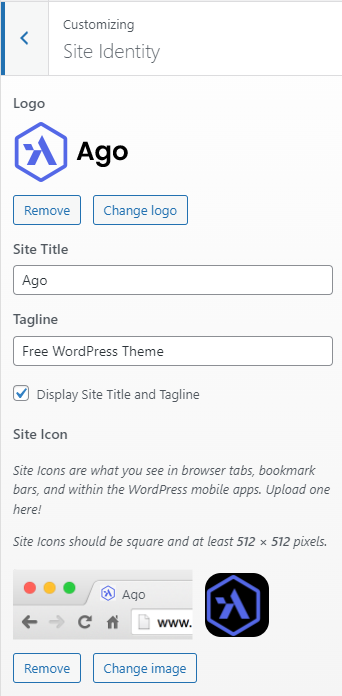 |
Site Identity
Site Icons are what you see in browser tabs, bookmark bars, and within the WordPress mobile apps. |
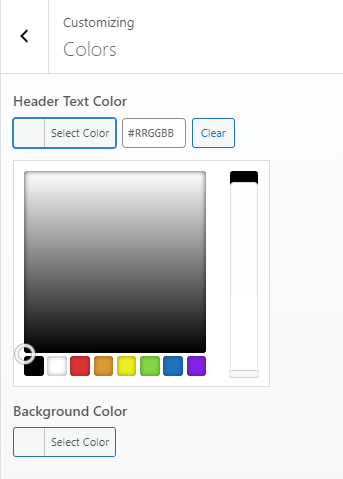 |
Color
Easily change the header text color and background color by color picker or input the color code.
|
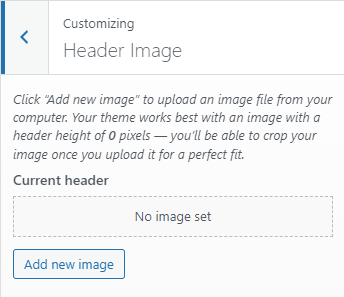 |
Header Image
This option allows you to upload image for header. Click “Add new image” to upload an image file from your computer. Leave it blank if you do not use. |
 |
Background Image
This option allows you to upload background image. Leave it blank if you do not use. |
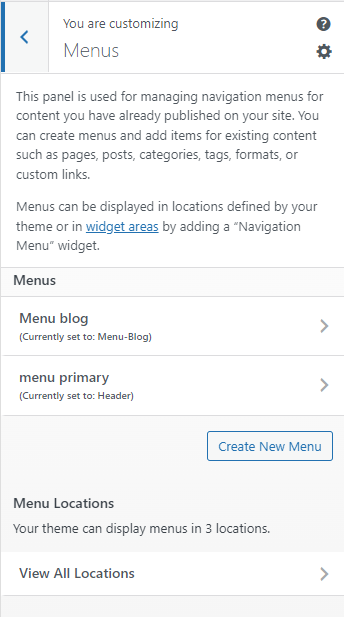 |
Menus
This panel is used for managing navigation menus for content you have already published on your site. You can create menus and add items for existing content such as pages, posts, categories, tags, formats, or custom links.
|
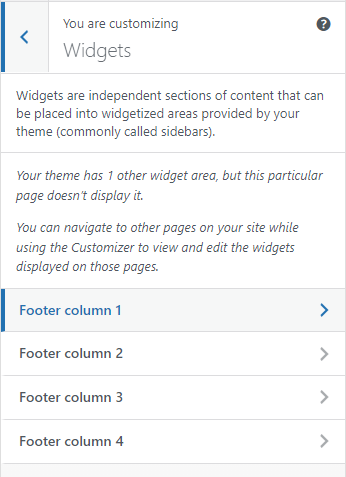 |
Widgets
Widgets are independent sections of content that can be placed into widgetized areas provided by your theme (commonly called sidebars).
|
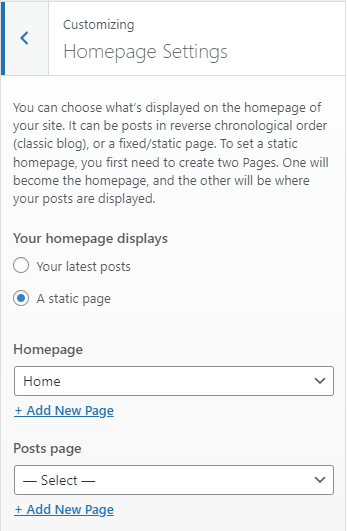 |
Homepage Settings
In this option, you can choose what’s displayed on the homepage of your site. It can be posts in reverse chronological order (classic blog), or a fixed/static page.
|
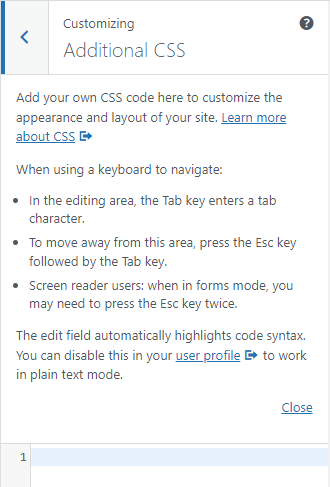 |
Additional CSS
Add your own CSS code here to customize the appearance and layout of your site. When using a keyboard to navigate:
|
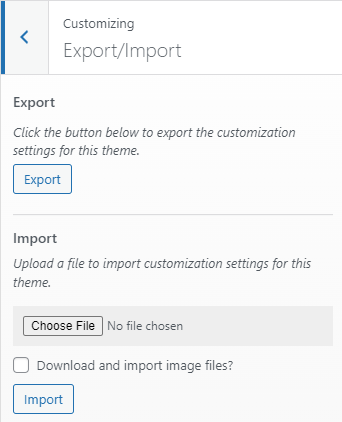 |
Export/Import
This option allows site owner to export the customization setting to a file or import customization setting by uploading a file. |
4. SUPPORT
For technical issue support, please contact us HERE.